Create a rotating cube in WebGL with Three.js
During the last hackday at Marmelab, I decided to play with Three.js, one of the most famous WebGL library. As hackdays are not hackweeks, I restricted myself to a simple purpose: a rotating Marmelab logo. Today, I am going to present to you the results of my experiments.
I splitted it into two posts. The first one is aimed to be a simple introduction to Three.js shows how to generate a rotating cube. The second one will learn you how to modelize a (not so) complex mesh in Blender and how to import it with correct texture. But for now, let’s focus on the simple cube.
Initializing Three.js scene
First, let’s initialize our project. We just create a basic empty HTML page, including the Three.js library. At first thought, I wanted to include Three.js as a submodule, as every third-party library I use. Yet, Mrdoob, maintainer of Three.js himself, recommends to not do such a thing (source):
The lib doesn’t update too often. And when it updates it tends to break code. So a submodule approach wouldn’t really work…
So, just include the minified three.min.js file as following:
<!doctype html>
<html>
<head>
    <title>Rotating logo - WebGL experiment</title>
</head>
<body>
    <div id="container"></div>
    <script src="js/three.min.js"></script>
    <script src="js/main.js"></script>
</body>
</html>
Now, let’s write our main.js file, containing all the logic of our rendering.
function init() {
}

function render() {
  requestAnimationFrame(render);
}

init();
render();
We split our code into two parts: the initialization and rendering. The only interesting thing to notice here is the call to requestAnimationFrame. This function acts similarly than setTimeout, but in a slightly better way. To better understand it, let’s compare the ways Javascript offers to repeat a function call.
How to call a function periodically in Javascript?
The simplest is setInterval function. It takes two arguments: a function f to call and a time interval n in milliseconds. This function will simply call f every n milliseconds, whatever may happen. Sounds good at first glance. But what about if f execution time lasts more than n milliseconds? Well, another call will be made, even if the first one was not terminated, which may cause some glitches.
A better solution is to use the setTimeout function, which has the same signature. The advantage with this one is it will not proceed to the next call until the current one has been entirely processed. Yet, it is not the optimal solution.
The best solution you should use is the requestAnimationFrame function. Its signature takes only one single argument: the function to call. Indeed, the browser will call it only when it needs. Furthermore, this function is by far more clever than the other two ones, as it pauses when current tab is not visible, saving battery and resources.
That’s why using requestAnimationFrame is the best choice (in this case). However, this is not a generality. For long polling for instance, you should better use a setInterval, unless you want to flood uselessly your server.
Three elements for rendering: scene, camera and renderer
After this small digression, let’s come back to our main topic. To display something, you need three elements: a scene, a camera and a renderer.
var scene, camera, renderer;

var WIDTH  = window.innerWidth;
var HEIGHT = window.innerHeight;

function init() {
    scene = new THREE.Scene();
    initCamera();
    initRenderer();

    document.body.appendChild(renderer.domElement);
}

function initCamera() {
    camera = new THREE.PerspectiveCamera(70, WIDTH / HEIGHT, 1, 10);
    camera.position.set(0, 3.5, 5);
    camera.lookAt(scene.position);
}

function initRenderer() {
    renderer = new THREE.WebGLRenderer({ antialias: true });
    renderer.setSize(WIDTH, HEIGHT);
}
We first define global variables to store our three main elements. You should rather use nested namespaces instead of. But for clarity, I voluntarily ignored this best practice. We also defined two constants to keep the dimensions of our WebGL element (here, the whole window).
Then, we initialize the scene. Nothing to say here, except the use of the THREE namespace.
Next line, we initialize the camera. We use a perspective camera, as it is the most natural choice. It takes four arguments:
- the vertical viewing angle (also known as the field of view, or fov). Generally, a value between 60 and 70° is natural.
- the ratio
- the distance where the screen is located from the camera. Objects before this distance will not be rendered (zNear in following schema).
- the maximum sight of the camera: beyond this point objects will not be visible (zFar in schema).
Here is a good and simple schema, taken from a tutorial of a Swiss university, explaining previous points:

The viewport limits help to improve performances by restricting number of computations to operate. Thus, the elements before the lower limit or after the higher one will not be treated. Always keep in mind the performance problematic when you are doing 3D rendering.
We move the camera at coordinates (0, 3.5, 5) and then orientate it to look at the center of the scene through the lookAt position.
Finally, we initialize our renderer. As we are making WebGL, we use the WebGLRenderer. Some other, such as CanvasRenderer exist, but they suffer of some restrictions. Do not forget to append the renderer container into the DOM (here with a simple appendChild call).
Drawing a rotating cube
Now we are ready to display our first mesh. So, let’s begin by drawing a cube:
var cube;

function init() {
    // ... (scene initialization)
    initCube();
    // ...
}

function initCube() {
    cube = new THREE.Mesh(new THREE.CubeGeometry(2, 2, 2), new THREE.MeshNormalMaterial());
    scene.add(cube);
}

function render() {
    renderer.render(scene, camera);
}
The previous code will display a cube seen from high angle view (as y position of our camera is greater than our cube position).
If you looked more precisely to our renderer initialization, we passed it an antialias option. This option is set to have a better rendering by smoothing all pixellized edges. It has of course an impact on performances.
Here are the two versions, respectively the anti-aliased and the aliased ones:


Bad looking on a simple mesh. I let you guess the result on more complex ones.
In the previous code, we just add a new mesh to the scene through the initCube function. A mesh initialization requires two arguments:
- Mesh geometry: where are located all the vertices and faces of our mesh.
- Mesh material: how each face should be rendered? Colors and physical properties (as brightness or opacity) are set here.
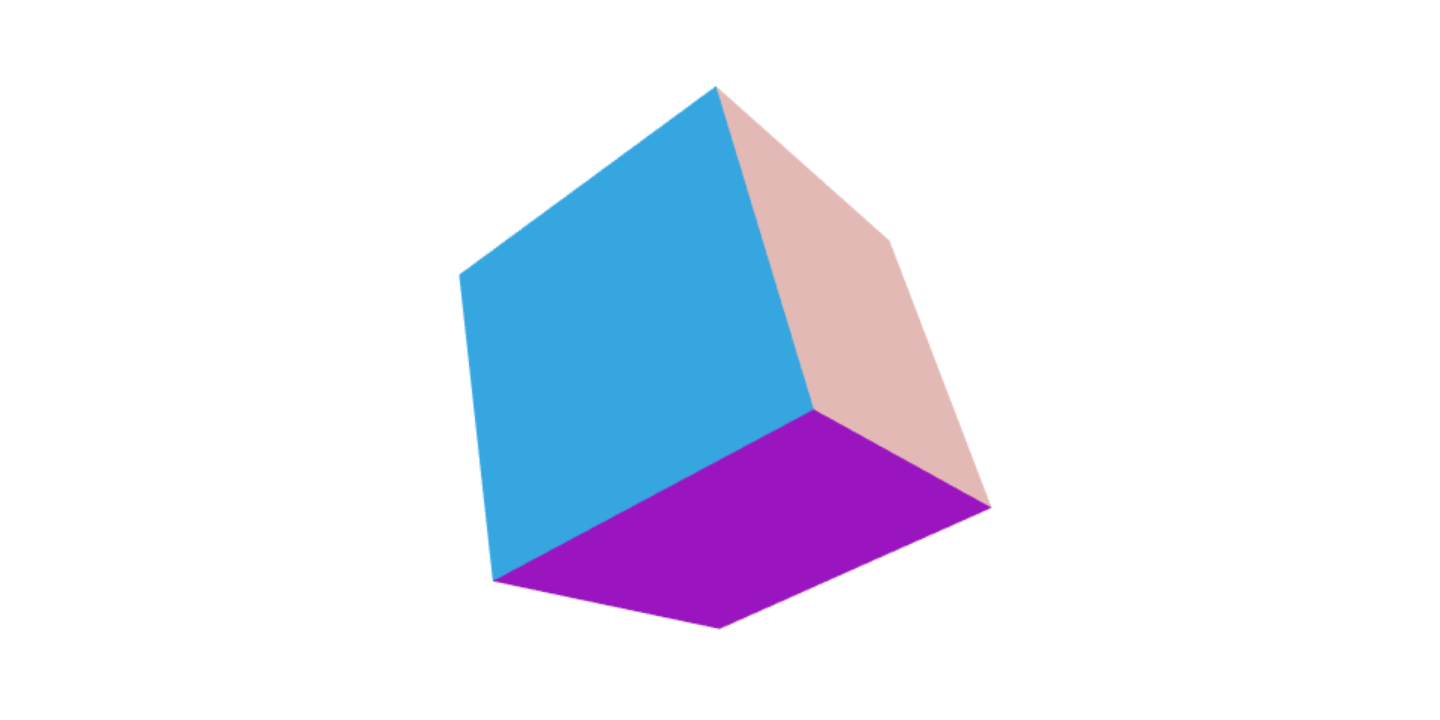
We just define a cube of 2 units edge, with default material (each face will be of a different color).
Do not forget to call the renderer to see your cube, by calling the render function. We could have put it in the init function in this static case. However, as our cube will move, we have to render the scene at each frame.
Now, let’s rotate it with the simple following code:
var SPEED = 0.01;

function rotateCube() {
    cube.rotation.x -= SPEED * 2;
    cube.rotation.y -= SPEED;
    cube.rotation.z -= SPEED * 3;
}

function render() {
    requestAnimationFrame(render);
    rotateCube();
    renderer.render(scene, camera);
}
We play with the rotation angle of our cube, and just call the rotation function before rendering our cube.
Nice looking result for very few lines of code, isn’t it? Demonstration and source code are both available on GitHub.
In the next post, we will see how to render a more complex mesh with Three.js, modelized in Blender.